English
 Français
 Español
Autoclave Liquid Cycle Slow Exhaust: Prevents Boil-Over in Lab Media and Buffers
You have just spent an afternoon preparing twelve bottles of culture media. You capped them loosely, loaded them into the autoclave, and selected the standard gravity cycle because it was the default. Thirty minutes later, the cycle ends, the door opens, and you are met with dried media crusted around every cap, liquid pooled in the tray, and one cracked flask. The usual cause is not the autoclave or the glassware but the cycle choice: a fast exhaust applied to a liquid load is a recipe for boil-over.
The autoclave liquid cycle slow exhaust prevents boil-over by releasing chamber pressure gradually, so the liquid stays close to its boiling point at the current pressure instead of flashing into steam. This article explains why boil-over happens, how a liquid cycle is structured, and the loading and glassware practices that keep media, buffers, and flasks safe.
Why Boil-Over Happens in an Autoclave
Liquid sterilization is normally performed at 121°C with the chamber pressurized to roughly 15 psi above atmospheric pressure. At that condition, 121°C is the boiling point of water, so the liquid remains in the liquid phase. The moment the exhaust valve opens and the pressure falls toward atmospheric, the boiling point drops to 100°C, leaving the liquid with about 21°C of superheat.
When the exhaust is fast, pressure falls much faster than the liquid can dissipate heat. The liquid stays near 121°C while the boiling point at the new, lower pressure sits far below the liquid temperature. The stored heat energy is released as a sudden burst of vapor: bubbles nucleate across the liquid and on the glass surface, the volume swells, foam rises up the neck of the bottle, and liquid erupts past the cap or plug. This is what operators mean by boil-over.
The same physics explain why fill volume matters. A bottle filled to 90 percent has almost no headspace, so expanding foam is pushed out immediately. A bottle filled to 60 percent leaves room for bubbles to form and collapse without ejecting liquid.
How Slow Exhaust Prevents Boil-Over
In a liquid cycle, the autoclave control system opens the exhaust valve in controlled steps or at a low fixed rate, so the chamber pressure decreases over 10 to 25 minutes rather than in seconds. As the pressure declines, the boiling point of the load drops, but the liquid is also losing heat to evaporation and to the chamber walls. Because the two rates are matched, the liquid temperature tracks the boiling curve closely and the degree of superheat remains near zero.
The result is a gentle, controlled cooling process. Bubbles form continuously but stay small, and the liquid is below 100°C by the time the chamber reaches atmospheric pressure. A one-liter bottle exiting the exhaust phase is typically around 90°C, cool enough to handle with heat-resistant gloves and safe to leave on the bench.
Some autoclaves use an air ballast during exhaust, admitting a small amount of filtered air to slow the pressure drop. This is especially useful for media that foam readily, such as broths containing proteins or surfactants.
The Liquid Cycle, Phase by Phase
Understanding the phases helps you set expectations for cycle time and diagnose problems when a run goes wrong.
| Phase | What happens | Typical duration |
|---|---|---|
| Heating and conditioning | Steam displaces air; the load warms to 121°C | 10 to 30 minutes |
| Sterilization exposure | Chamber held at 121°C and about 15 psi | 15 to 45 minutes |
| Slow exhaust | Pressure released gradually; liquid cools below 100°C | 10 to 25 minutes |
| Cooling and unloading | Remaining heat dissipates; bottles can be handled safely | 10 to 60 minutes |
If your autoclave does not offer a programmable slow exhaust rate, check whether the liquid cycle exists as a preset program. Do not substitute a gravity cycle: it exhausts too quickly, creating exactly the flash boiling described earlier. Pre-vacuum cycles are equally unsuitable for uncontained liquids, because the vacuum pulses before heating can pull liquid out of open containers.
How to Load Liquids for a Clean Run
Even with a correctly programmed liquid cycle, your loading method decides whether the run ends cleanly. Experienced lab operators rely on a short list of rules:
- Fill containers to no more than 60 percent of their rated volume. Foaming is common even in slow-exhaust runs, and the extra headspace gives the liquid room to expand.
- Loosen caps before sterilization. A sealed bottle builds up internal pressure as it heats; the pressure can deform the cap, push it out, or crack the neck. Screw the cap on only a quarter turn, or use a vented autoclavable closure.
- Place all containers in a deep tray with about a quarter inch of water in the bottom. The water improves heat transfer to the flasks and catches any liquid that does escape.
- Keep similar fill volumes together. A tray of 500 mL bottles behaves differently from a tray of 100 mL bottles, and mixed loads may be under-processed or over-vented.
- Inspect every vessel before loading. Chips, star cracks, and scratch rings act as nucleation sites where bubbles form quickly; a damaged bottle is the most likely one to fail.
For routine media preparation, 3.3 borosilicate glass bottles with autoclavable polypropylene blue caps are a dependable choice. They tolerate repeated 121°C cycles, and the cap forms a secure seal once the load cools. If your current bottles are not marked as borosilicate or autoclavable, it is worth switching to high-borosilicate media storage bottles rated for autoclaving.
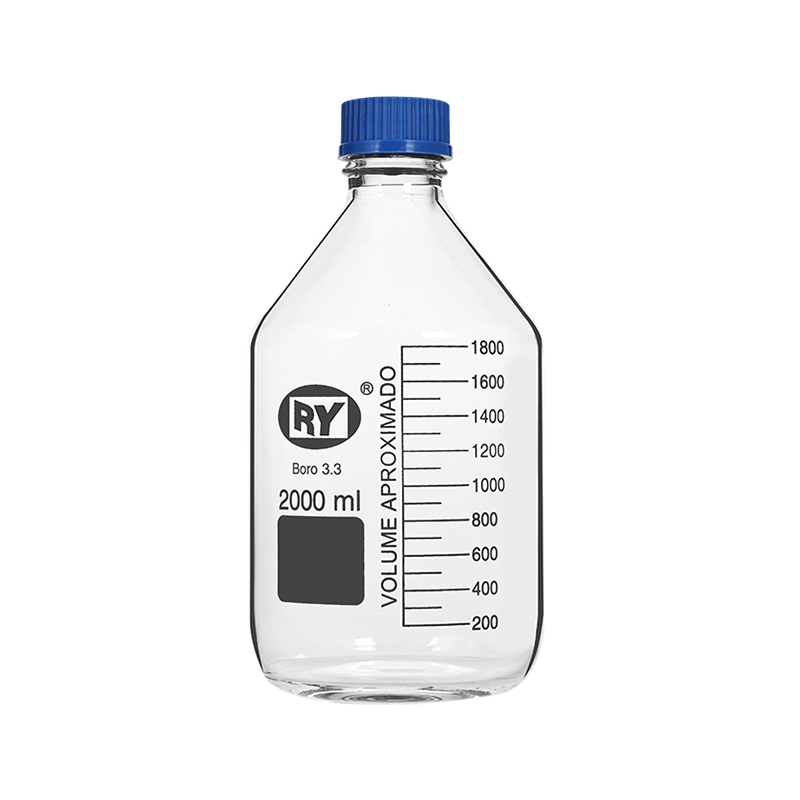 Wholesale Blue Cap Threaded Reagent Bottle (3.3 High Borosilicate) Suppliers, FaShanghai Heqi Glassware Co., Ltd. is China wholesale Blue Cap Threaded Reagent Bottle (3.3 High Borosilicate) Suppliers and Factory,3.3 h...View Product →
Choosing Glassware and Autoclave Settings That Work Together
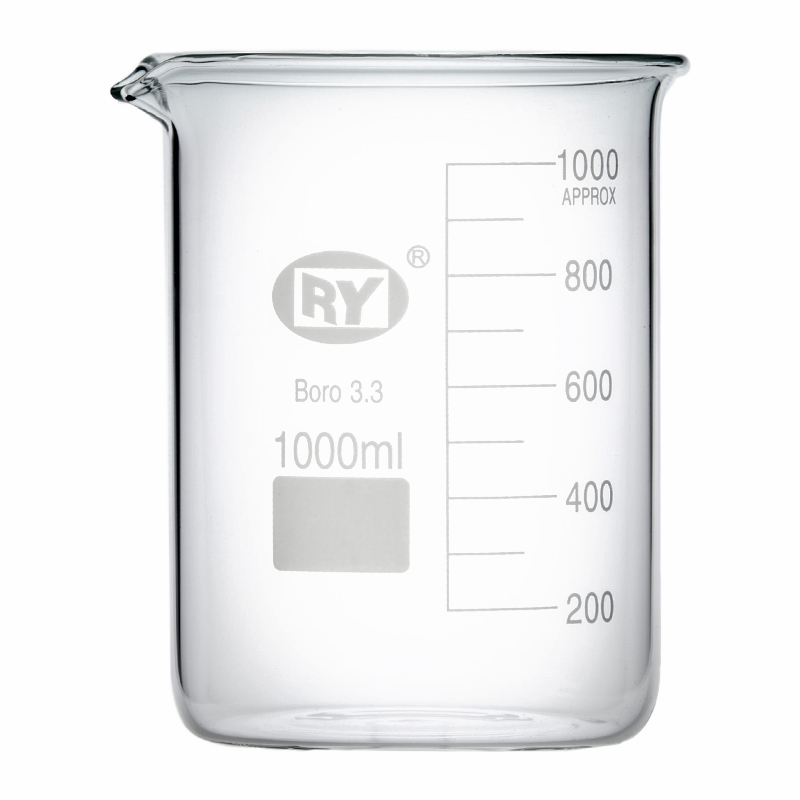
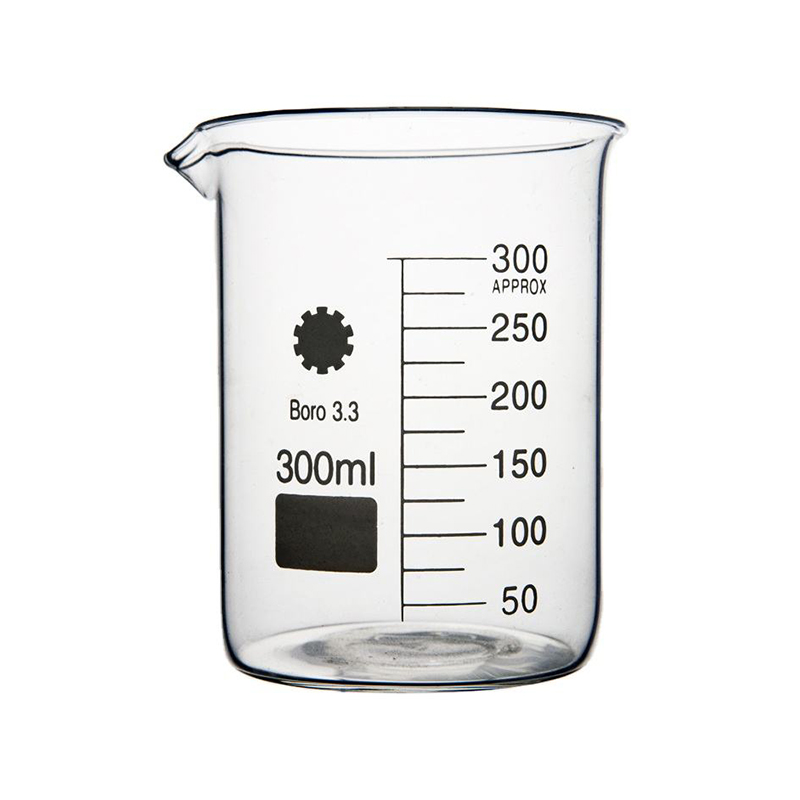
The glassware you put into the autoclave matters as much as the cycle program. Thin-walled household glass and soda-lime glass are not suitable because they heat unevenly and crack under thermal stress. Borosilicate 3.3 glass, with its low coefficient of thermal expansion, is the established material for autoclave-safe labware.
Buying decisions are simpler when you know what to look for:
- Check the wall thickness. Thick-walled bottles and flasks survive repeated cycling better and are less likely to crack when handled warm.
- Confirm that the closure is polypropylene or another autoclavable polymer. Ordinary polyethylene caps distort at 121°C.
- Keep Class A volumetric ware out of the autoclave. Volumetric flasks, graduated pipettes, and burets are calibrated at 20°C; heating can permanently deform the glass and change the calibration.
- Choose vessels with a clear material designation so you know that every bottle in the chamber is borosilicate.
For labs sterilizing larger volumes, the same material rule applies. Erlenmeyer flasks with standard taper joints are a common choice for media and buffer work because they autoclave well and accept a range of closures. Borosilicate construction plus a slow-exhaust liquid cycle is the combination that prevents boil-over.
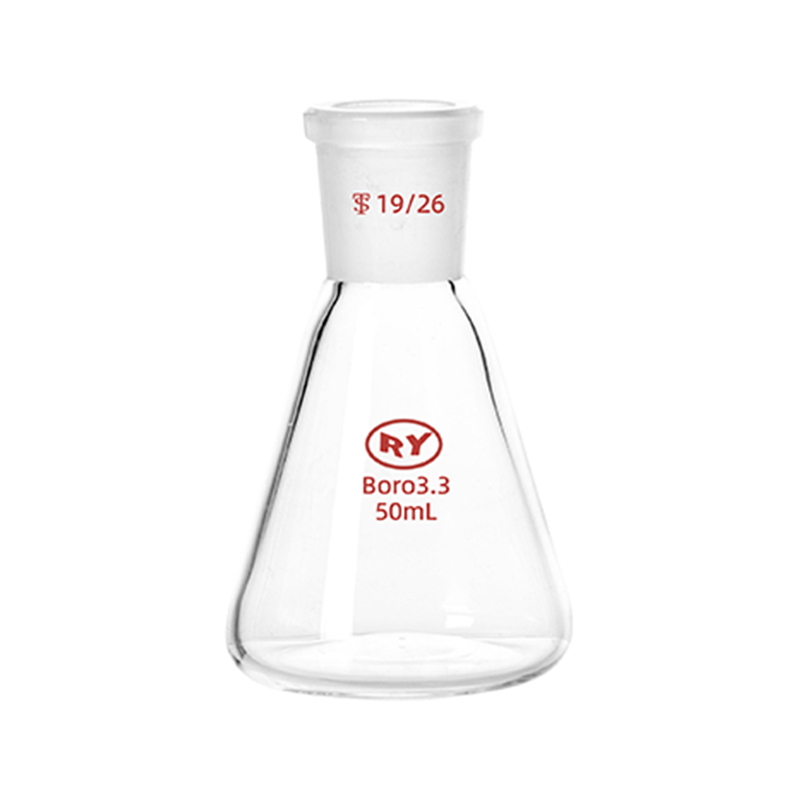 Wholesale Erlenmeyer Flask (Standard Joint) Suppliers, Factory - Shanghai Heqi GShanghai Heqi Glassware Co., Ltd. is China wholesale Erlenmeyer Flask (Standard Joint) Suppliers and Factory,Borosilicate Erlenmeyer flas...View Product →
A Simple Routine That Prevents Boil-Over
Boil-over is not an inevitable part of autoclaving liquids. It is the predictable outcome when the exhaust phase does not match the load. Select the liquid cycle, keep bottles below two-thirds full, loosen every cap, use trays with a shallow water layer, and use only intact borosilicate glassware. That routine keeps the liquid in the flask and the autoclave easy to clean.
These habits fit into broader general laboratory practices that experienced teams follow for consistent results. Once the slow exhaust setting has been verified on your autoclave, the guesswork disappears, and you can trust the cycle to finish cleanly, run after run.